How to change the Computer, Host and Local Host Name on Mac
How to Change Computer’s Name on Mac to Show the correct name while connecting via a different device or while sending files?
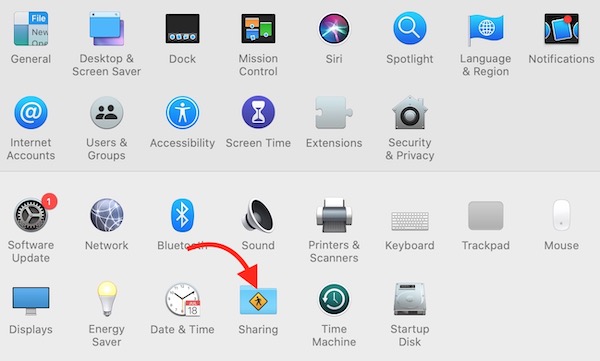
- Open System Preferences on Mac (You can either open it by click on the app that represents Setting/Gear icon or just click on the Apple icon on the top left corner and select System Preferences).
- Click on the Sharing option.
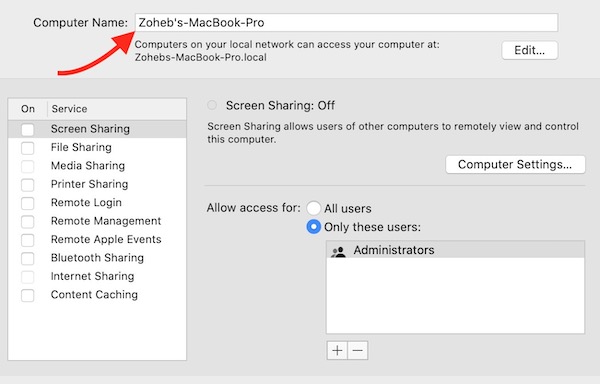
- Now you can type any name you want as shown in the screenshot below.
Alternate Method:
You can also do the same via terminal without changing it anything under sharing.
Launch Terminal application and type the following command. Press Enter and you will have to type the password and then press Enter again.
sudo scutil --set ComputerName TypeAnyNameHere
How to Change Mac’s Local Host Name (Name that is used by Local Network to Connect to your Mac)
- Open Terminal Application and type the following command
sudo scutil --set LocalHostName AnyNameHere
- You will be asked to enter the Password. So do it and press the Enter key.
Alternative Method to Change Mac’s Local Host Name
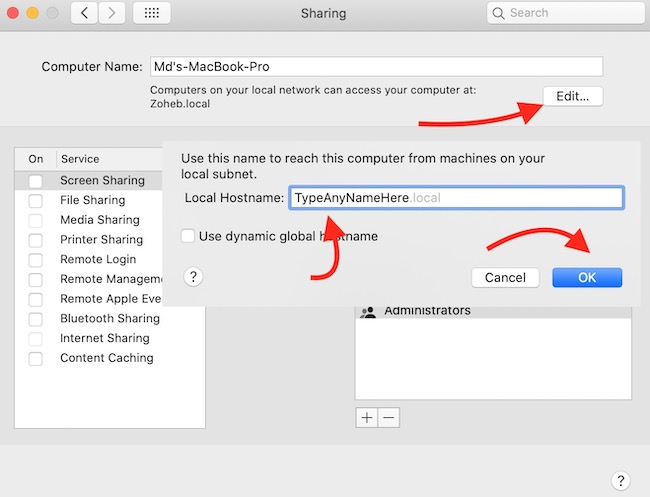
- Open System Preferences app on your Mac and click on the Sharing option.
- Click on the Edit Option, then type any name you want to keep for the Localhost and then hit the OK button.
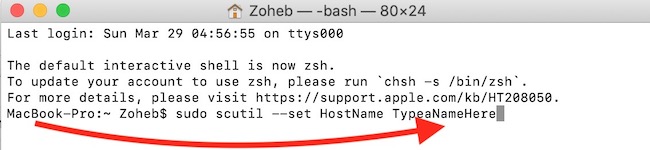
How to change MacBook’s name to show it correctly under Terminal
Changing the Host Name
Type the following command in the terminal
sudo scutil --set HostName TypeaNameHere